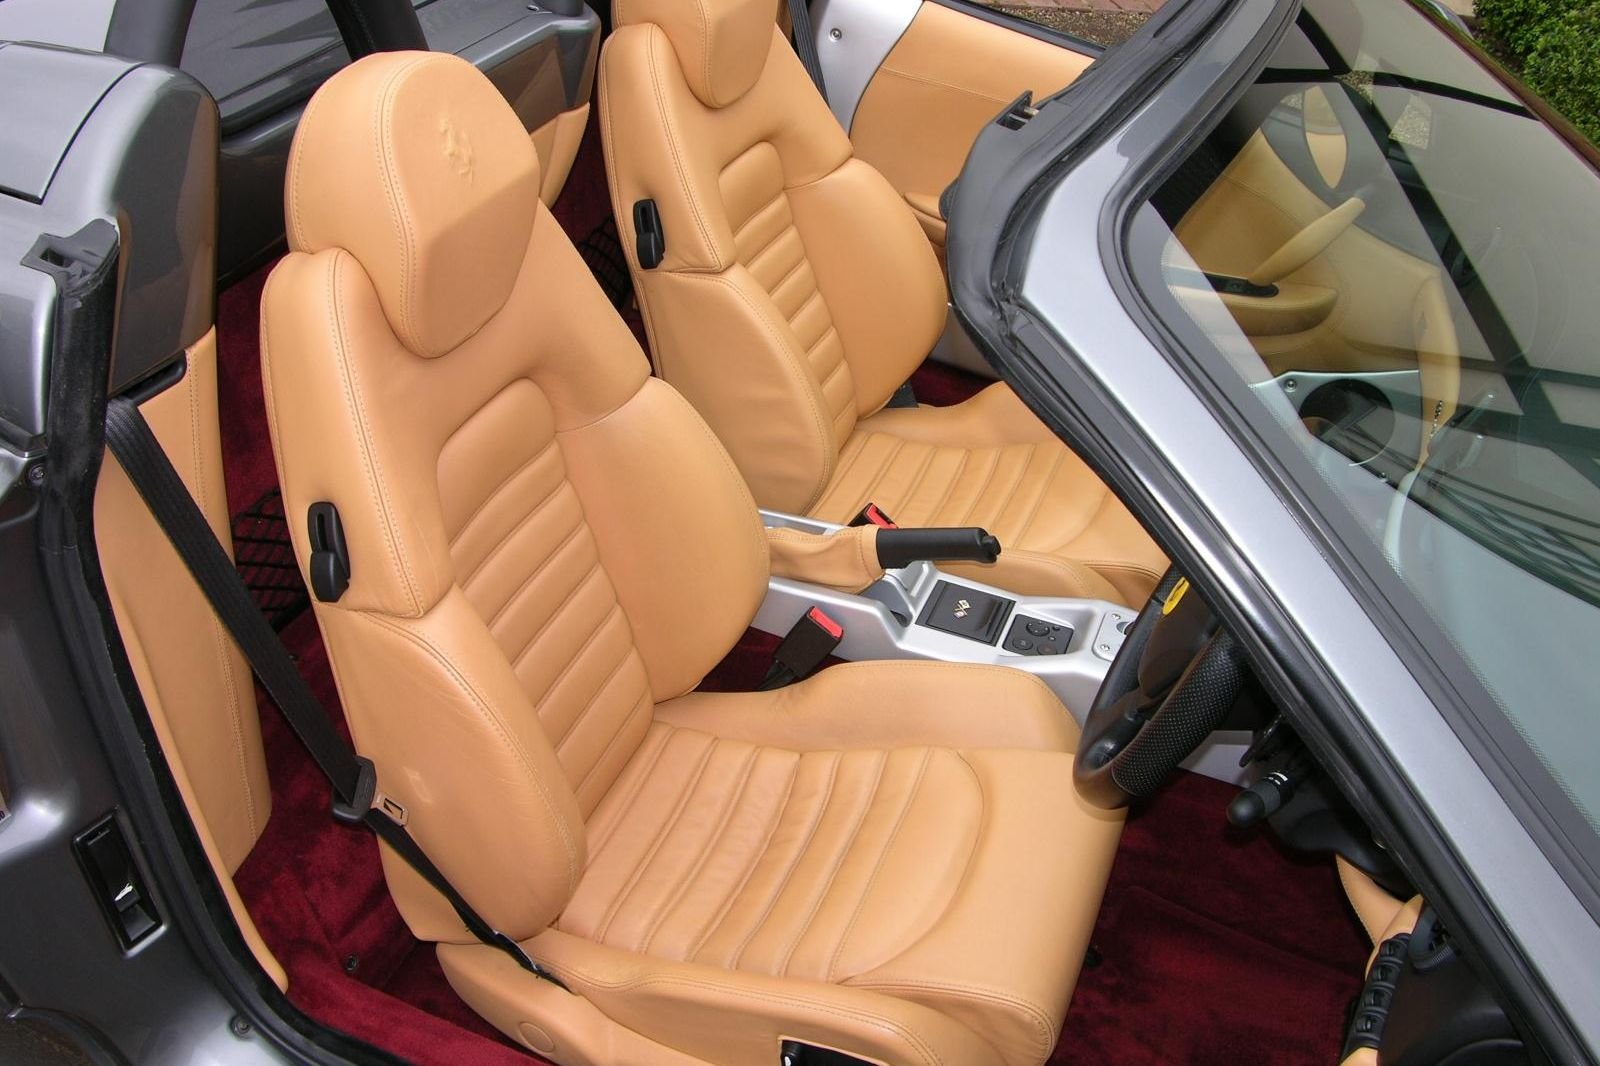
A clean interior makes every drive more pleasant. Interior detailing goes beyond a quick vacuum to clean carpets, seats, plastics, screens and glass carefully. Following a consistent order saves time and prevents re-dirtying surfaces you already cleaned.
This checklist walks through a full interior detail. Always test products on a hidden area first and check your vehicle owner’s manual for guidance on cleaning sensitive surfaces.
Gather Supplies
- Vacuum with crevice and brush tools. See the car vacuums buying guide.
- Detailing brushes of various sizes
- Microfiber towels. See the microfiber towel guide.
- Interior cleaner suitable for your surfaces
- Carpet and upholstery cleaner
- Leather cleaner and conditioner if needed
- Glass cleaner safe for tinted windows
- Screen-safe cleaner or plain microfiber for displays
- Trash bags
Step 1: Declutter
Remove trash, personal items, child seats and loose items from every compartment, door pocket and the trunk.
Step 2: Remove Floor Mats
Take mats out to clean separately.
Step 3: Dry Brush and Dust
Use soft brushes to loosen dust from vents, seams, buttons and trim. Work from top to bottom so debris falls to the floor.
Step 4: Vacuum Thoroughly
- Start with the headliner area gently, if needed, then seats, then carpet
- Slide seats forward and back to reach underneath
- Use the crevice tool along seat rails and console gaps
- Agitate carpet with a brush while vacuuming
Step 5: Clean Floor Mats
- Rubber mats: Scrub with cleaner, rinse and dry fully
- Carpet mats: Vacuum, treat stains, scrub and allow to dry completely before reinstalling
Step 6: Carpets and Upholstery
Treat stains with an appropriate cleaner, agitate with a brush and blot or extract with a wet/dry vacuum. Avoid soaking fabric; excess moisture can lead to odors. Allow seats and carpet to dry with windows open or good airflow.
Step 7: Leather Seats
Clean leather with a product made for automotive leather, using a soft brush and microfiber. Condition if the manufacturer recommends it. See how to clean leather car seats.
Step 8: Dashboard, Doors and Console
Spray cleaner onto a towel rather than directly on surfaces, especially near electronics. Wipe plastics, vinyl and trim. Use brushes for textured areas and seams.
Step 9: Screens and Displays
Touchscreens may have coatings that harsh chemicals can damage. Use a clean, dry microfiber or a cleaner labeled screen-safe, following vehicle manual guidance.
Step 10: Vents
Use soft brushes or foam swabs to clean vent slats.
Step 11: Glass
Clean interior glass last among surfaces to remove overspray and residue. Use a tint-safe cleaner and two towels: one to clean, one to buff. Do not forget the inside of the windshield, mirrors and sunroof glass.
Step 12: Door Jambs
Wipe door jambs and sills, which collect grime.
Step 13: Odor Control
Find and remove sources of odors rather than masking them. Thorough cleaning, drying and ventilation help. Replace the cabin air filter on schedule according to the owner’s manual.
Step 14: Final Inspection
Reinstall dry mats, check for missed spots with a flashlight and return items you want to keep.
Product Safety
- Read labels and test in hidden areas
- Avoid mixing chemicals
- Ventilate the car while cleaning
- Keep products away from airbag covers and sensitive electronics as advised in the owner’s manual
Maintenance Between Details
- Keep a small trash bag in the car
- Use all-weather mats in bad weather
- Wipe spills promptly
- Vacuum quickly every week or two
Questions to Ask Before You Start
- What materials are my seats and trim made of?
- Are there any stains needing special treatment?
- Do I have enough time for fabric to dry before driving?
- Does my owner’s manual warn against specific cleaners?
Common Mistakes
- Spraying cleaners directly onto screens and electronics
- Overwetting fabric
- Cleaning glass first and spraying it again later
- Using household cleaners not meant for car interiors
- Reinstalling damp mats
A Quick Weekly Routine
A short routine keeps the interior from needing a big reset:
- Remove trash and items that do not belong
- Shake out or vacuum floor mats
- Wipe high-touch areas such as the steering wheel, shifter and door handles with an appropriate interior cleaner
- Wipe the inside of the windshield if it looks hazy
Cleaning Child Seats
Child seats often collect crumbs and spills. Follow the seat manufacturer’s cleaning instructions, since some harsh cleaners and machine washing can weaken straps. Reinstall child seats exactly as their manuals and your vehicle manual describe.
Final Inspection Checklist
- No debris under seats or in seat rails
- Mats dry and secured correctly so they cannot interfere with pedals
- No streaks on glass or screens
- No cleaner residue on the steering wheel or pedals
- Vents and cupholders clean
A Note on Pets
Pet hair, dander and odors build up quickly. Seat covers and cargo liners make cleanup easier. Vacuum frequently, use rubber pet hair tools and wash covers per their instructions.
Starting Small
If a full detail feels like too much, start with decluttering, vacuuming and cleaning glass. Those three steps make the biggest visible difference.
A Note on Headliners
Headliners are often attached with adhesive that moisture can weaken. Clean them gently with a lightly dampened towel rather than spraying directly, and avoid scrubbing hard.
A Note on Trunks and Cargo Areas
Trunks collect sand, leaves and spills. Remove the cargo floor cover if possible, vacuum the spare tire well and wipe trim.
Frequently Asked Questions
How often should I detail my car interior?
Many owners do a full detail a few times a year with light upkeep between.
Can I use household cleaners?
Some are too harsh. Use products made for automotive interiors.
How do I clean a touchscreen?
Use a clean microfiber or screen-safe cleaner per the manual.
How do I remove odors?
Remove the source, clean, dry and ventilate.
What order should I clean in?
Top to bottom, with glass near the end.
The Bottom Line
Detail the interior in a logical order: declutter, dust, vacuum, clean mats, upholstery, leather, plastics, screens, vents and glass, then inspect. Use the right products, avoid overwetting and keep up with light maintenance.
Editorial note: Auto Detailly is independent and reader-supported. This guide is based on research into manufacturer documentation, published specifications and widely accepted best practices; we have not been paid to mention any product. If we add affiliate links in the future, they will be clearly disclosed per our Affiliate Disclosure.
Photo: Ferrari 360 Spider F1 – Flickr – The Car Spy (18) by The Car Spy, CC BY 2.0


